Here is a sneak peak into another recently completed project that we have scheduled to photograph this spring (2018). We are waiting for the landscape to bloom to show the Architecture in it's best light, but we are excited to share this project with some preliminary photographs of the project taken this past fall.
The owner is a repeat client of ours - a couple of years ago, we did an addition/renovation of the Family Room, Kitchen and Master Suite to this house. In this project, we basically took down the rest of the house and built around the previous work. The owner has a young family and wanted open, airy spaces with views to their backyard and pool so that they not only could enjoy the light that large windows and open spaces afford, but could also be able to see their kids play in the yard.
Here is a first look at this fantastic project. Enjoy!
FRONT ELEVATION

This is the front elevation of the house as viewed from the street. The material selection and wall surface treatment was used to help break down the scale of the house so that it was in scale with the streetscape. On the first floor, we used a large 9" wide ship lap siding with a 1/2" reveal between boards. On the second floor, we used a standard clapboard siding which matches the previous addition. And in the two main gables, we designed custom louver panels to provide a different texture and depth to the surface. All is painted the same color, so the difference is one of texture and horizontal line spacing.
GARAGE ELEVATION

On the Garage portion of the front elevation, the louver panels were not used in the gable end and the entire roof form is dropped from the height of the other two gables. This was done to de-emphasize this form - making the main block of the house the focal point from the street and visually reduces the overall bulk of the house along the streetscape.
REAR ELEVATION

On the rear, a covered terrace overlooks the existing pool.
ENTRY STAIR
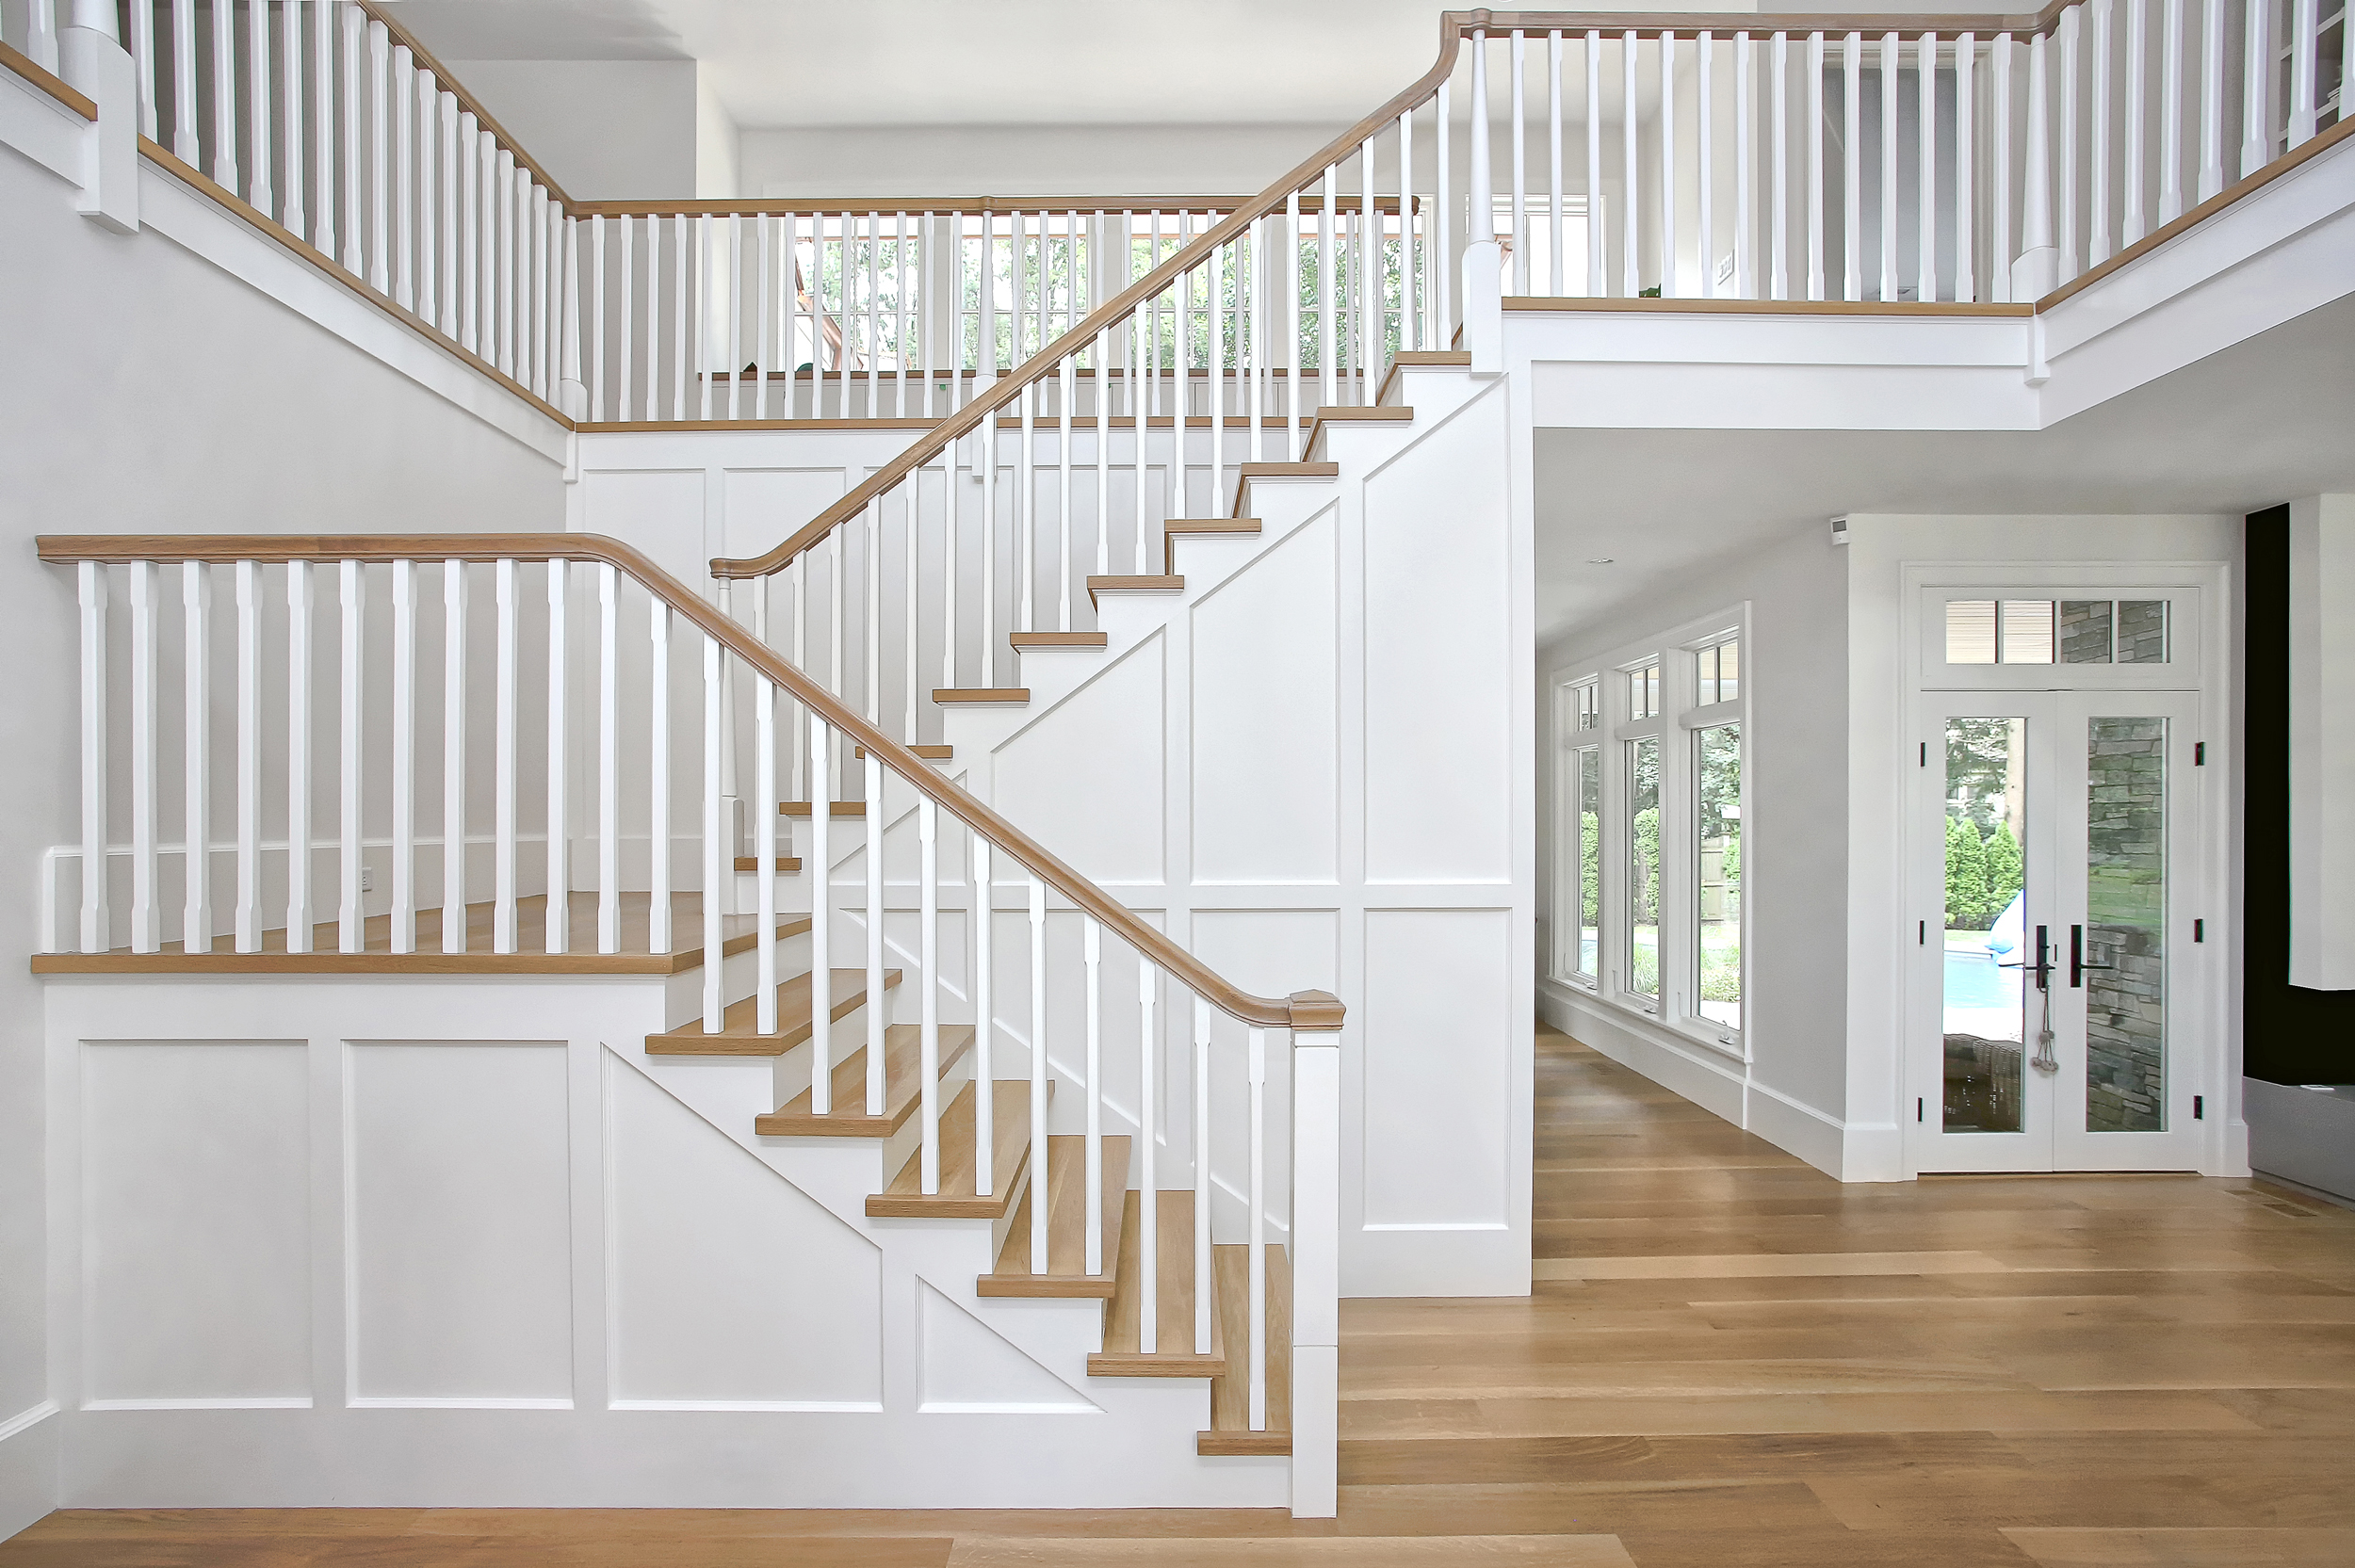
This is the view once you enter the front door. The Living Room is to the right, the Dining Room is behind the stair, and an open space leading to the Kitchen, Office, Mudroom and secondary stair is to the left. This central stair is a central figure between all of these spaces. We panelized the stair and left all other wall treatments as smooth painted surfaces to emphasize the figural quality of the stair as a piece of millwork. Chunky stair treads and handrails are finished to match the floor in this light filled space.
VIEW FROM LIVING ROOM TO DINING AND ENTRY
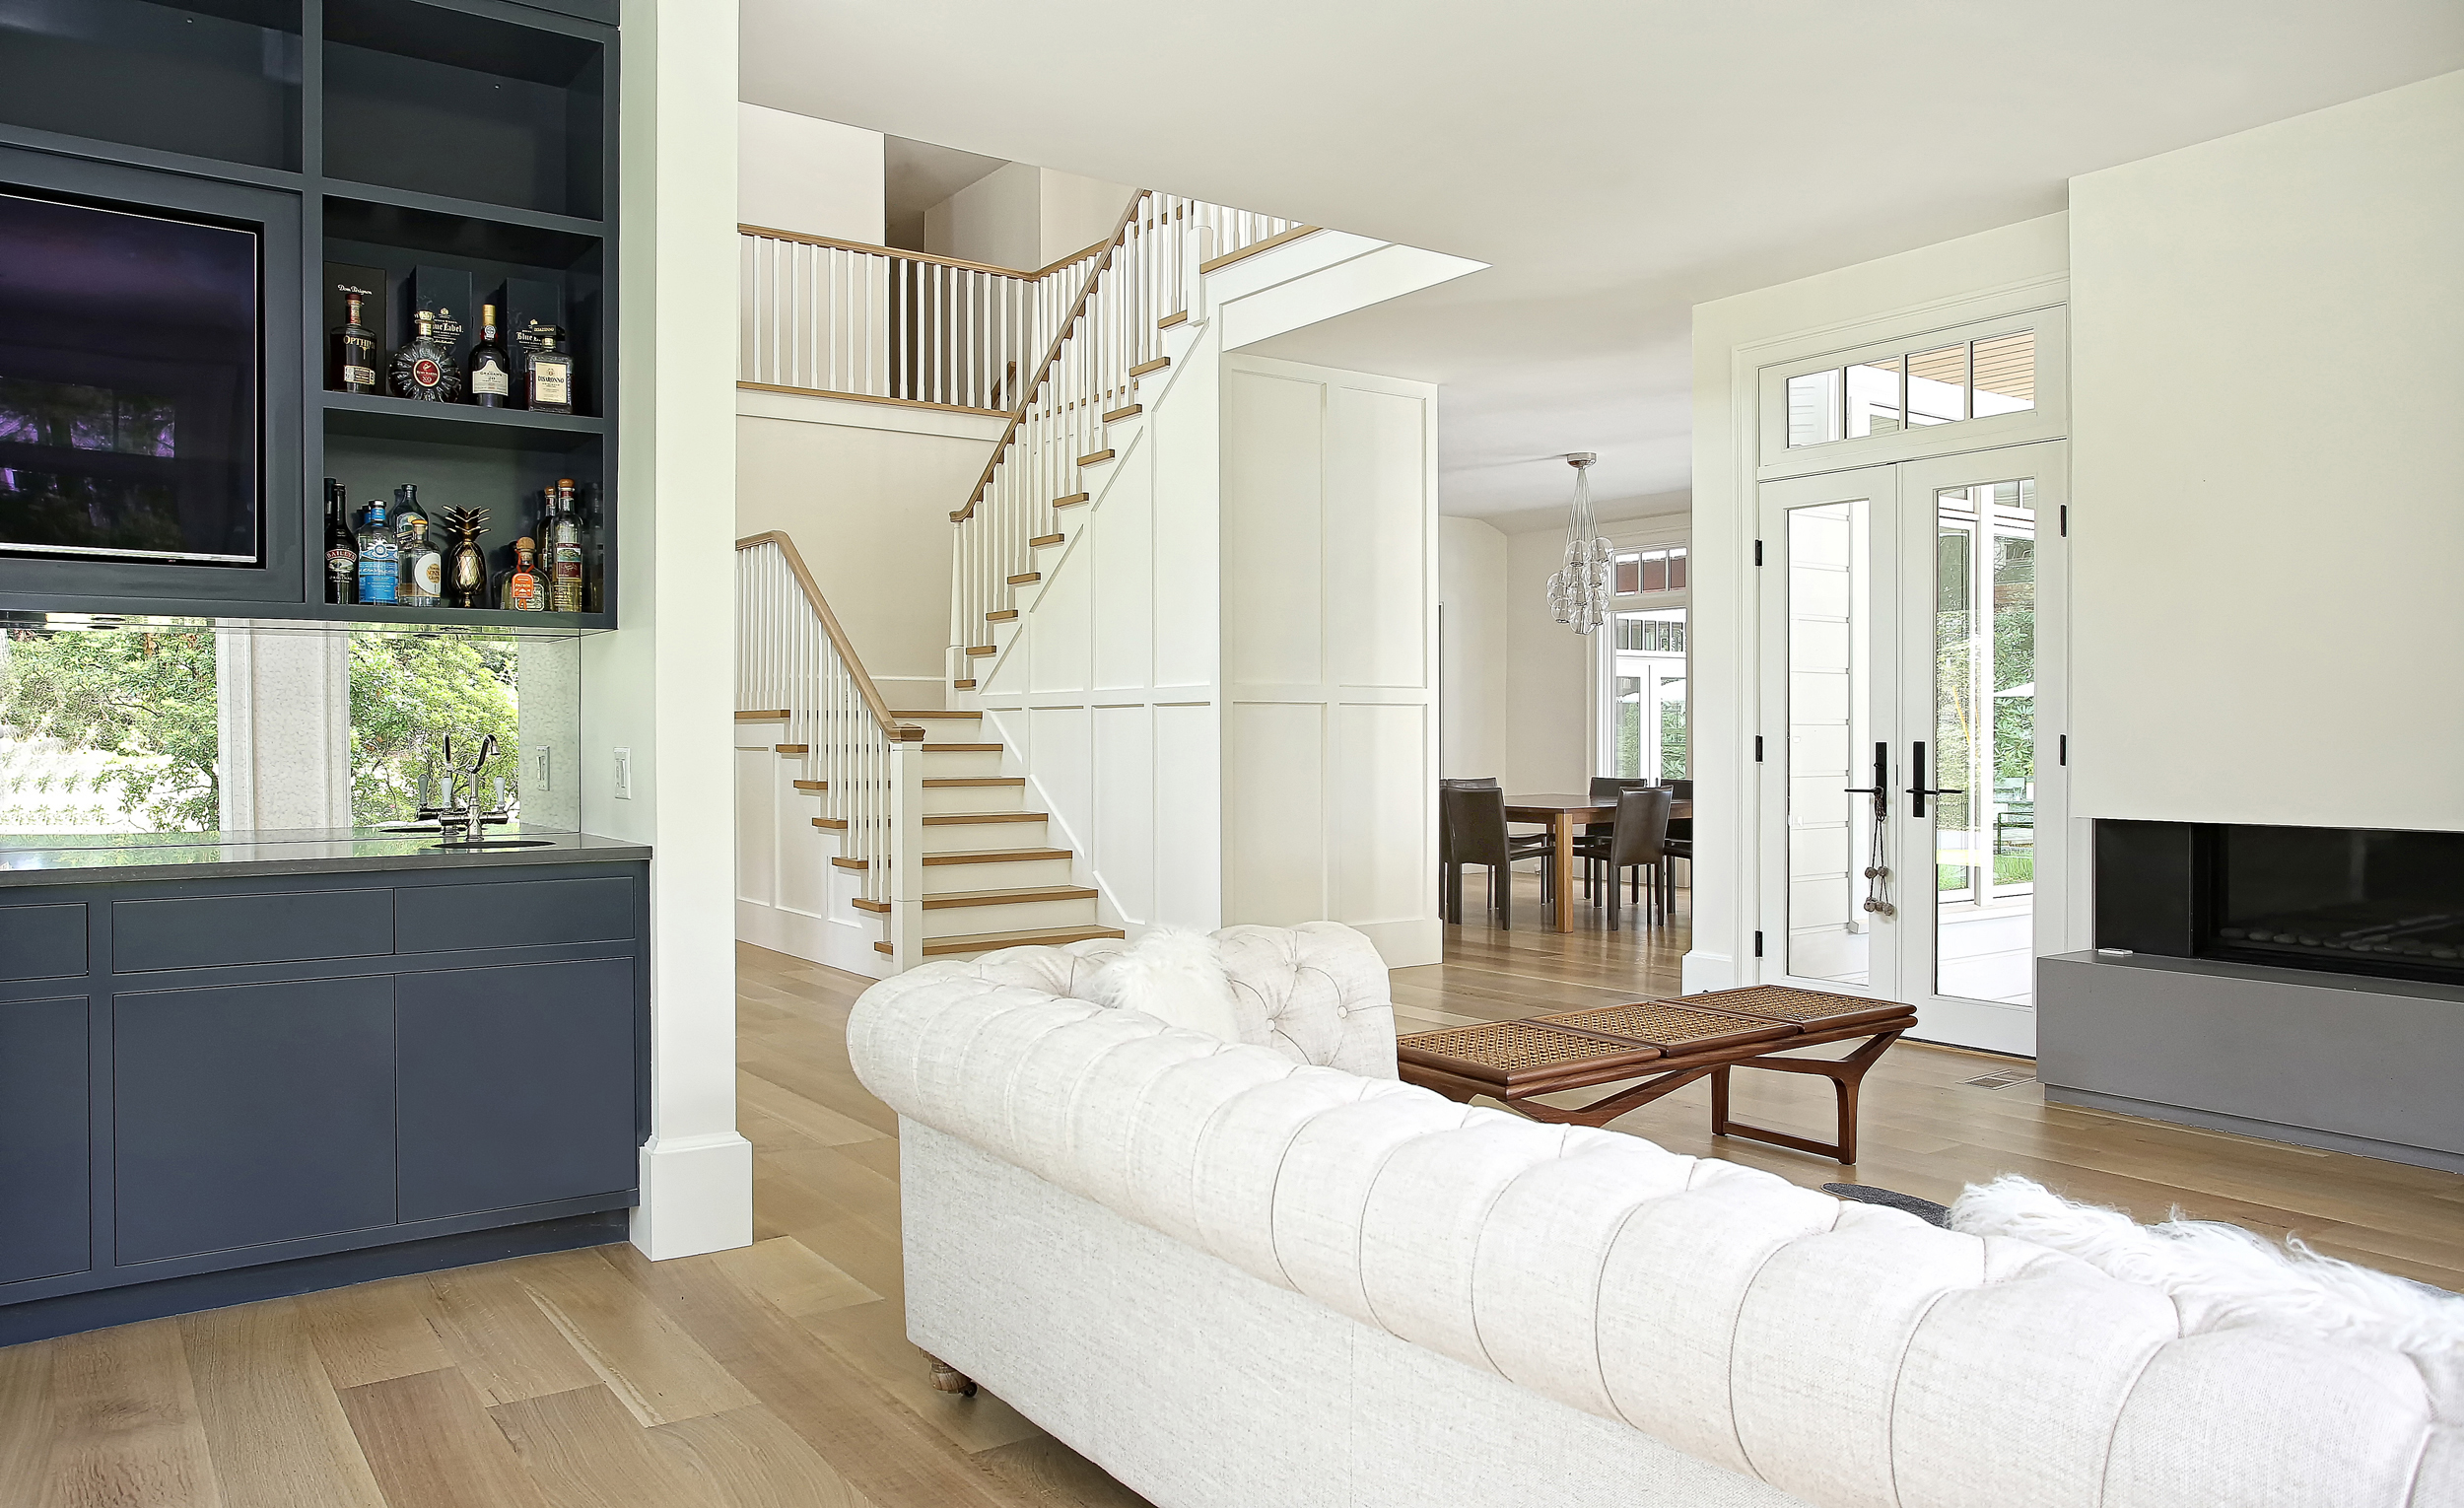
This is the view from the living room looking back toward the entry. We designed a wet bar in this living space, painted a deep blue, with a gray quartz counter and antique mirrored backsplash.
LIVING ROOM

This is the view from the entry into the Living Space. We designed a 6 foot long by 12 inch high gas fireplace which provides a linear flame. We surrounded this firebox with blackened steel panels, and designed a custom gray quartz hearth. This entire space is wrapped in large picture windows with transoms above to provide maximum light to the interior and transparency to the rear yard and pool area.
ENTRY HALL AT SECOND FLOOR

Matching Second Floor windows on the front and rear of the house bring light deep into the center of the house and let it drop down into the entry space. On the back wall of this image, between the two kids bedrooms, we designed a custom cabinet unit with irregular display cubbies and a white oak rear panel to match the wood counter tops in the space and the floors in order to keep the material palette muted with a singular white oak finish and a white paint throughout.
DINING ROOM

This is the view from the Dining Room into the Kitchen area. We designed these steel doors to seperate the space, but allow a view from the Kitchen out to the yard through the Dining Room.
BOYS BATHROOM DETAILS

In the boys bathroom, large shower and wall behind the vanity were clad in a porcelain tile that resembles concrete. We used alternating bands of two textures along the full height of the walls. The vanity is a custom white oak cabinet with built-in finger pulls. The counter is a mitered white quartz counter so that the edges appear 3" thick. The countertop material and cabinet are seperated by a 3/8" reveal to give a shaddow and finished look to the flush condition.
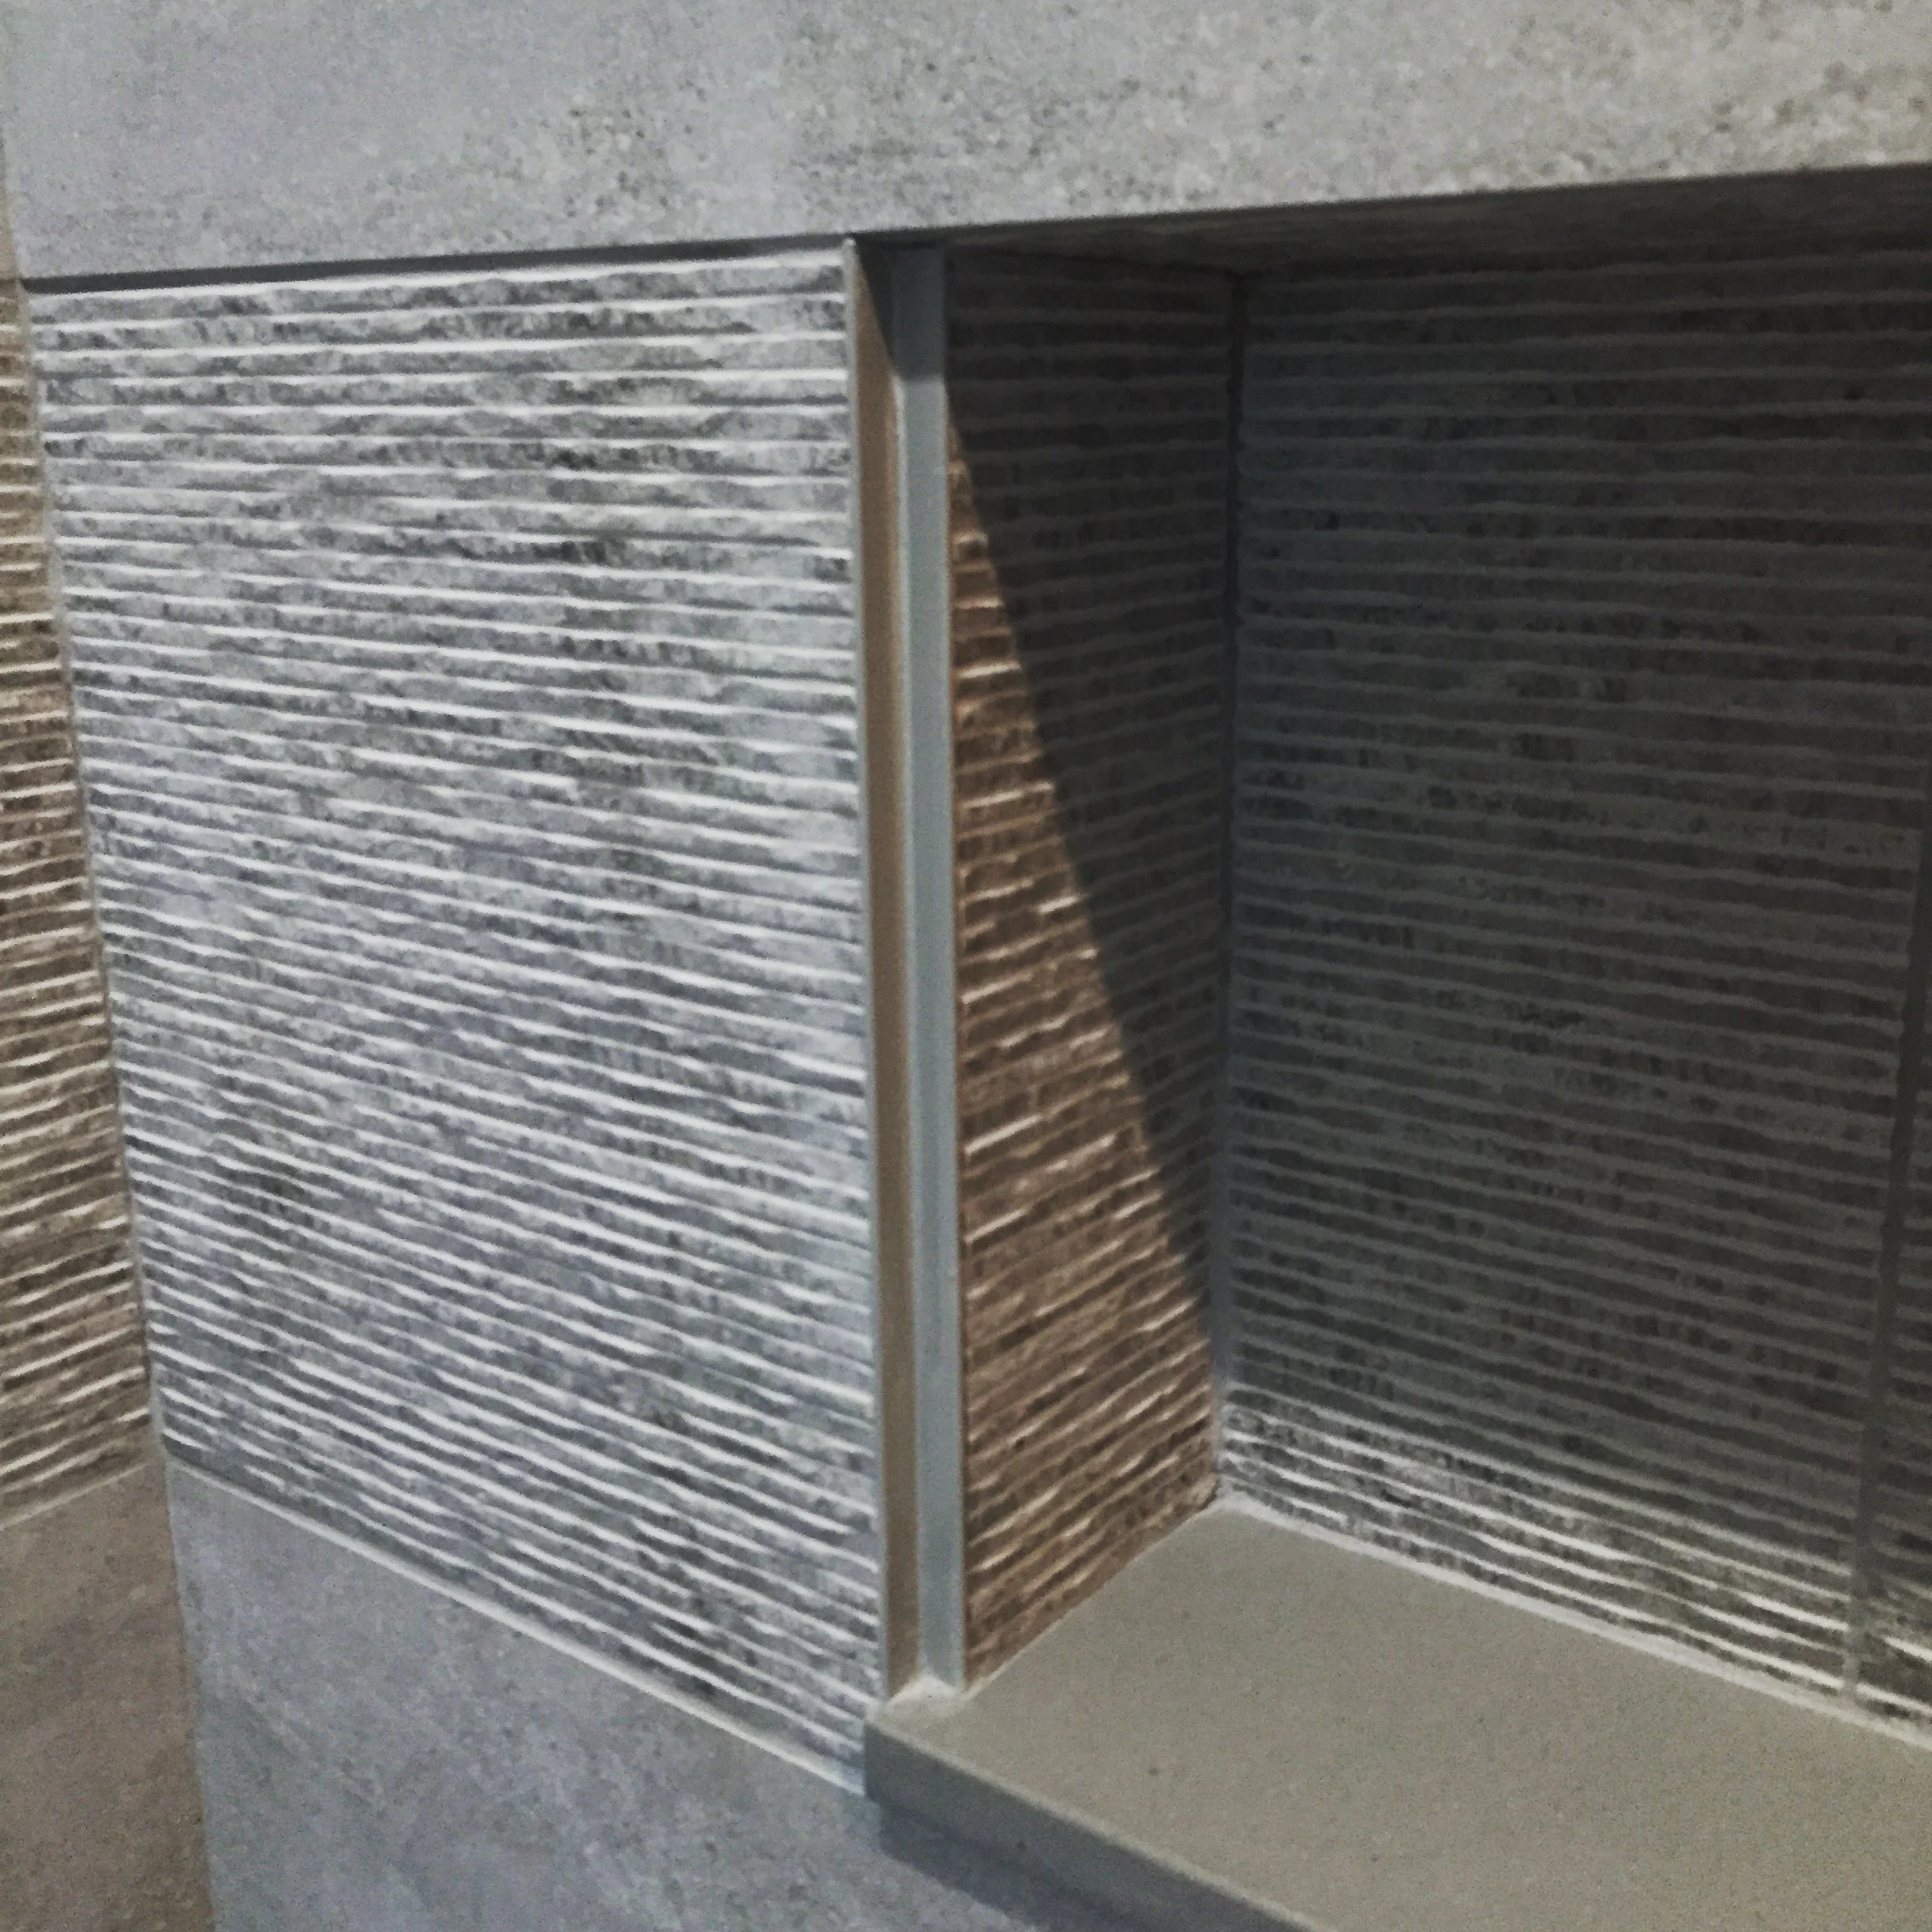
We designed a 5 foot long soap/shampoo recess in the shower that exactly conforms to the height of the textures wall tile. Because the cut edges of porcelain tile is unfinished, we used a brushed stainless steel corner trim to finish the recess which exactly meets the side edge of the gray quartz slab below. All of these alignments when done well look easy. But it takes a lot of care and attention all the way back into the rough framing stage of construction to get it right.
MISC BATHROOM DETAILS

In the Guest Bathroom, we designed this complicated vanity. The 12 inch thick countertop is made of mitered slabs of Statuary Gold marble that sit on marble slab "legs". Inside these marble legs, we floated a stained mahogany cabinet that sits off the herringbone floor. The entire wall behind this vanity is clad in a white thassos marble tile and the fixed mirror is detailed so sit flush with the wall tile.

In the First Floor Powder Room, we designed a cantilevered vanity with reclaimed barn board concealing steel supports. The semi-recessed matte white vessel sink sits on a marble countertop that is flush with the face of the barn board. Back in the rough framing stage of construction, mock-ups were reviewed of this vanity and sink height to determine the best height for the wall mounted faucet that would be a comfortable height to wash hands, but would not be too high and splash water onto the wood floor.
That is a small taste of some of the things we did with this fantastic project. Check back with us later in the spring to see the final photos! As always, we had a wonderful team on this project including a fantastic, creative client, talented tradespeople and a patient General Contractor to execute some of our crazy ideas (but we don't think they are crazy!).
General Contractor: DeRosa Builders
Thinking about improving your current home, or building new? Get started organizing your thoughts with the Unique Project Blueprint™. Click the button below.